There is a project for a bundle of Angular 2 and Semantic UI — ngSemantic. For simple use of the Semantic UI, this plugin is great, but if you lack its functionality, you can connect the Semantic UI yourself.
To build Semantic UI we need Node.js, npm and gulp. Semantic UI uses less, you need to install it. The starter itself uses sass. But it is not necessary, you can use CSS, replacing all references to CSS in the project.
Clone Angular 2 starter and Webpack:
git clone https://github.com/preboot/angular2-webpack.git semanticGo to the folder with the project and run the installation:
npm install
npm start
The project will be at: localhost:8080. Check it:
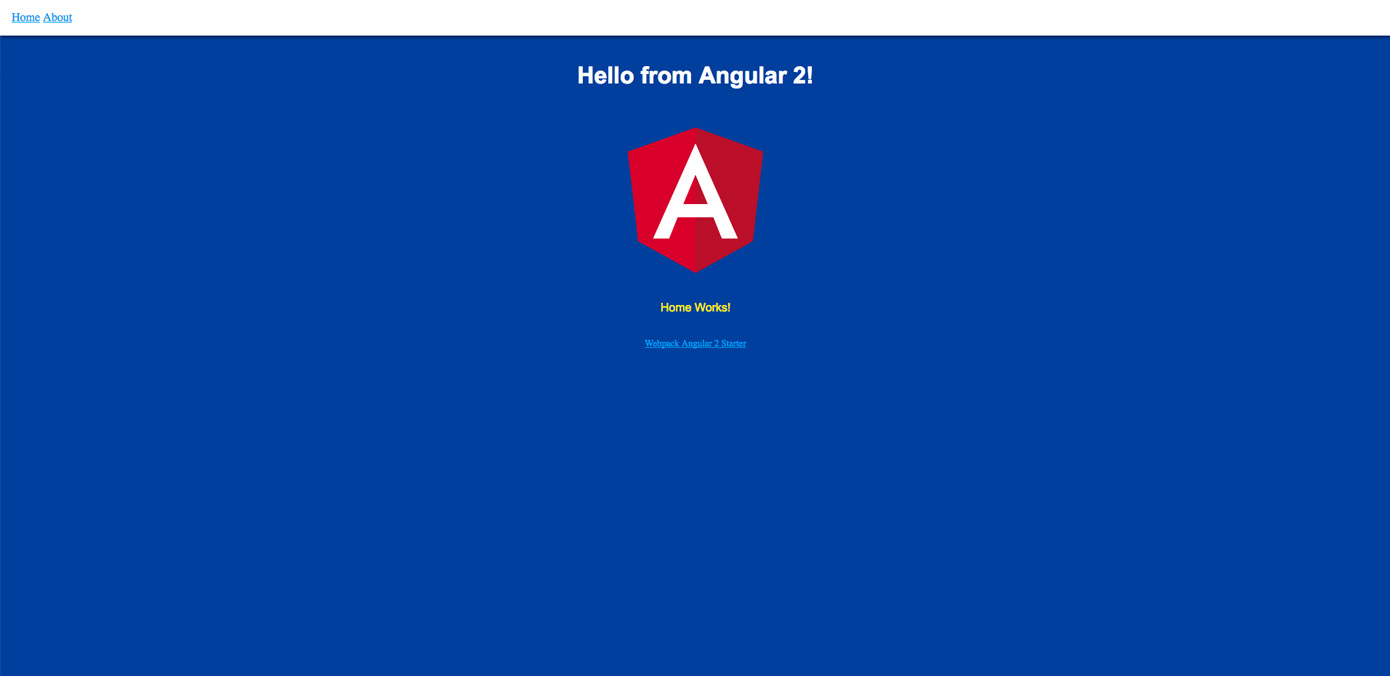
Global styles are stored in src/style/app.scss, entry point — src/public/index.html.
Each component can have styles that apply only to it. I changed the starter styles:
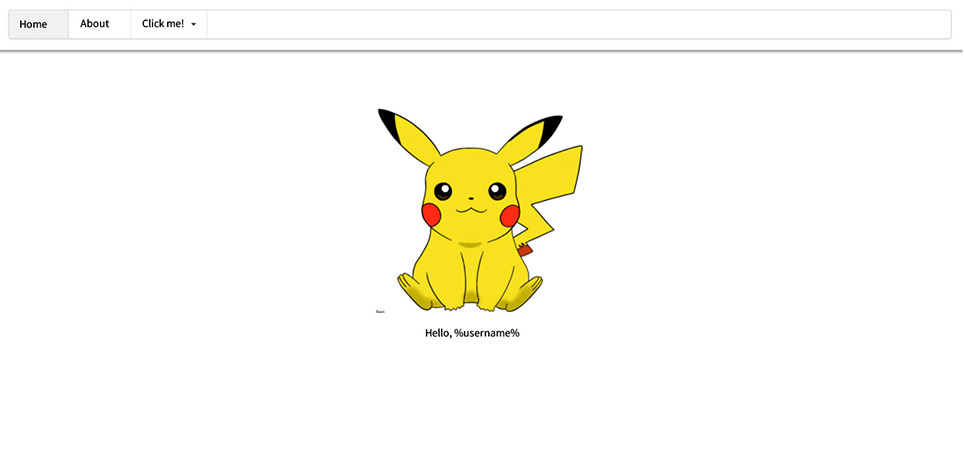
Now, let's install the Semantic UI.
npm install semantic-ui --save-devWhen installing, in the console you need to select the installation options. To select the answer, use the up and down arrows. I'm using the silent installation option. Install all items in a folder semantic.
Open folder with the Semantic UI:
cd semanticGulp is used for build. If you open gulpfile.js, then you will see what tasks are available:
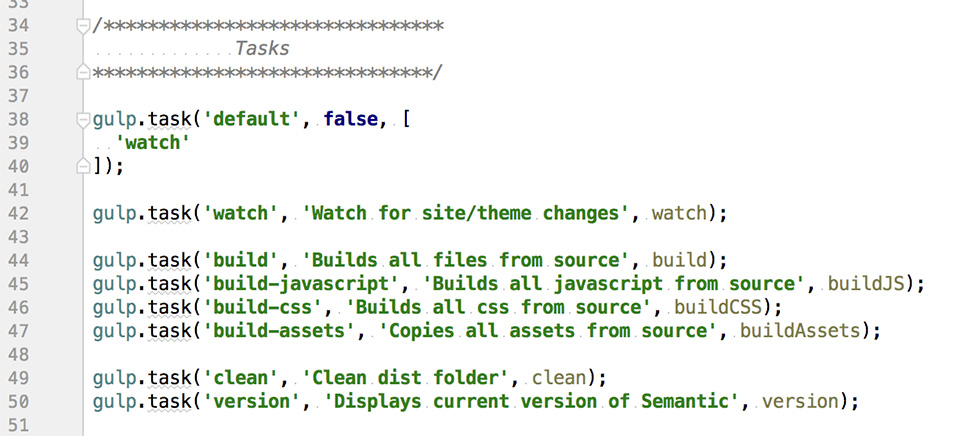
We are interested in the build task. Before building, you can change some parameters in the framework, if necessary.
So, execute in the console (remember, we should not be in the project folder, and in the semantic folder):
gulp buildAs a result of the build, we will get the dist folder, which contains all the necessary files for import.
jQuery
JQuery is required to work with Semantic UI. Install it (run it from the project root folder):
npm install jquery --saveNext, we need to import jQuery in src/vendor.ts:
import 'jquery’;In the webpack.config.js you need to find config.plugins and add there:
new webpack.ProvidePlugin({
  jQuery: 'jquery',
  $: 'jquery',
  jquery: 'jquery'
}),
Your IDE may not recognize $ and jQuery, considering that these types are not defined. In this case, you need to put the appropriate type for jQuery:
npm install --save @types/jqueryImport CSS and JS for Semantic UI in scr/vendor.ts
import '../semantic/dist/semantic.min.css';
import '../semantic/dist/semantic.min.js';
Let's try to insert something from the Semantic UI code examples, for example, insrc/app/home/home.component.html:
<div class="ui statistic">
  <div class="label">
    PIKACHU SMILES AT YOU,
  </div>
  <div class="value">
    %username%
  </div>
</div>
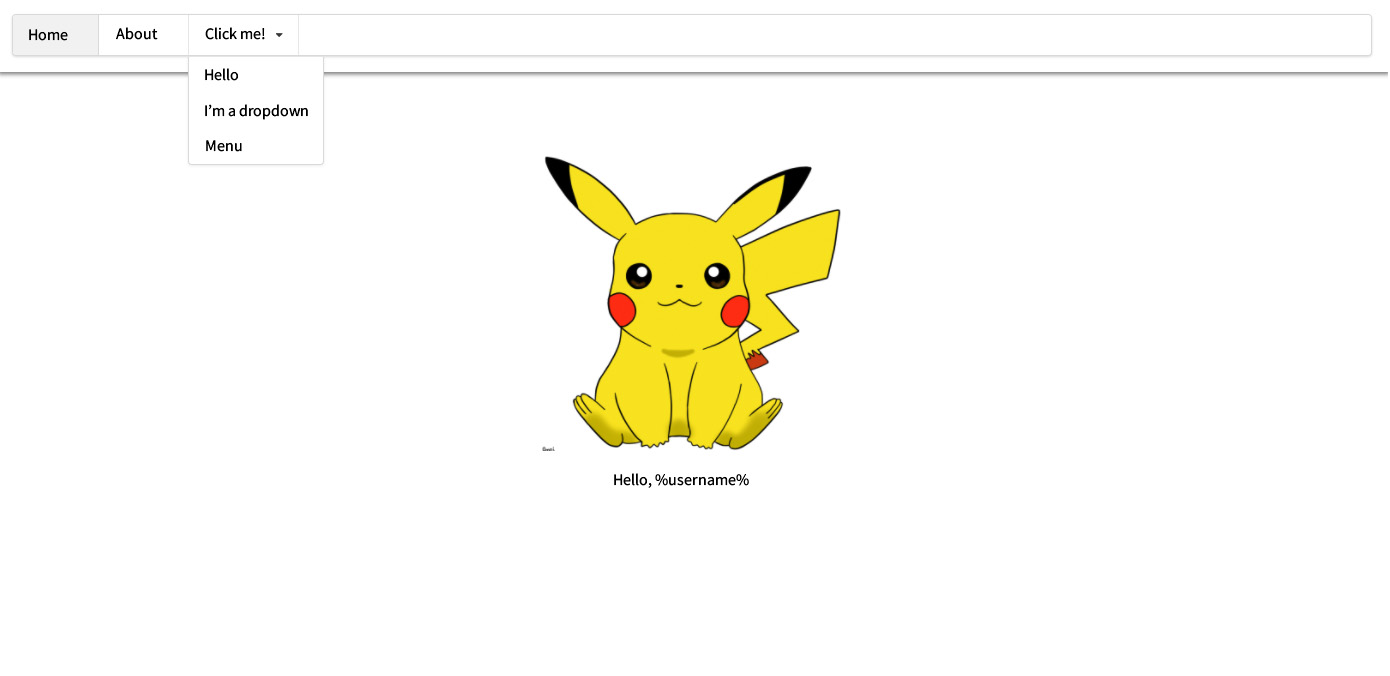
Result:
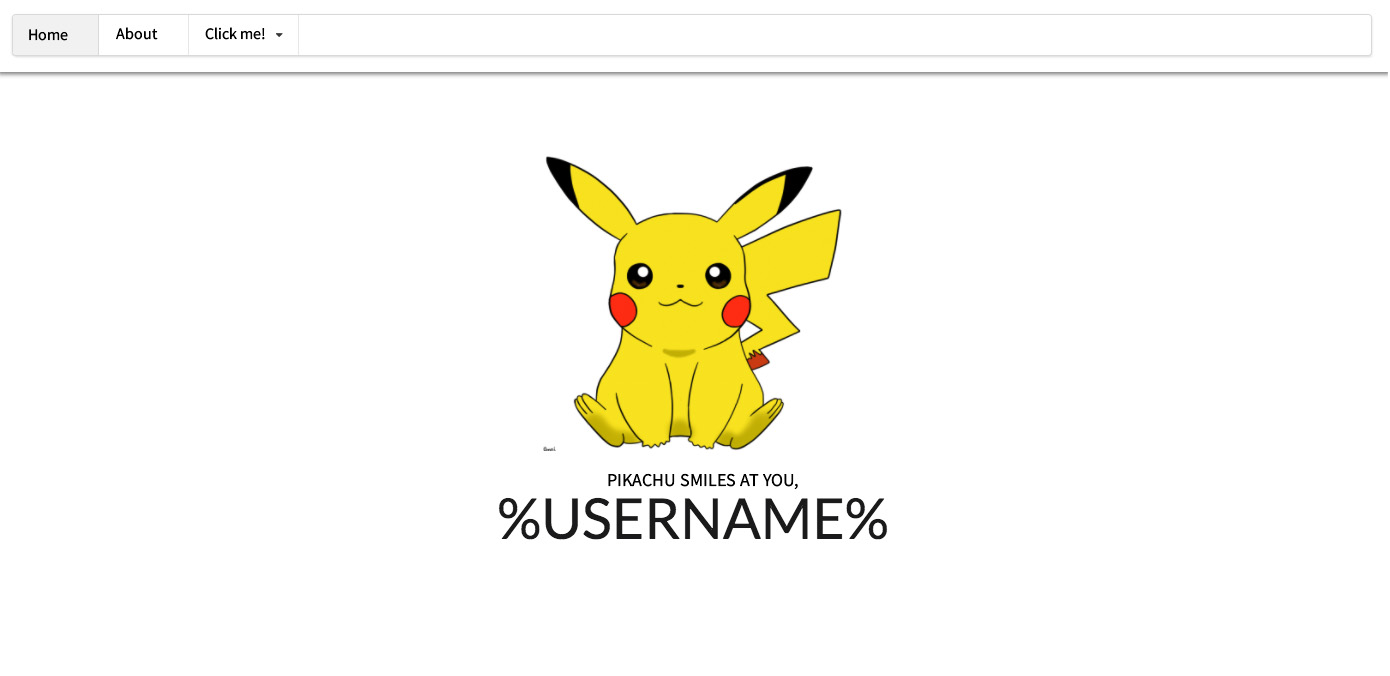
If we need to use something that requires Javascript, such as dropdown, we can do the following:
1. Create src/app/public/js/main.js:
(function($) {
    $(function() {
        $('div.dropdown').dropdown();
    });
})(jQuery);
2. Import main.js in the vendor.ts:
import './public/js/main.js';3. Change menu in the src/app/app.component.html:
<header>
  <div class="ui menu">
    <a class="item active" [routerLink]="['']">Home</a>
    <a class="item" [routerLink]="['about']">About</a>
    <div class="ui dropdown item">
      Click me!
      <i class="dropdown icon"></i>
      <div class="menu">
        <a class="item">Hello</a>
        <a class="item">I'm a dropdown</a>
        <a class="item">Menu</a>
      </div>
    </div>
  </div>
</header>
We should get this picture:
Suppose we need to initialize something at the component level, and not globally (for example, to set the default values programmatically). Let's check on the example of the about component.
Change src/app/about/about.component.html:
<select>
  <option value="1">Interesting facts</option>
  <option value="2">Homeland</option>
  <option value="3">All about foods</option>
</select>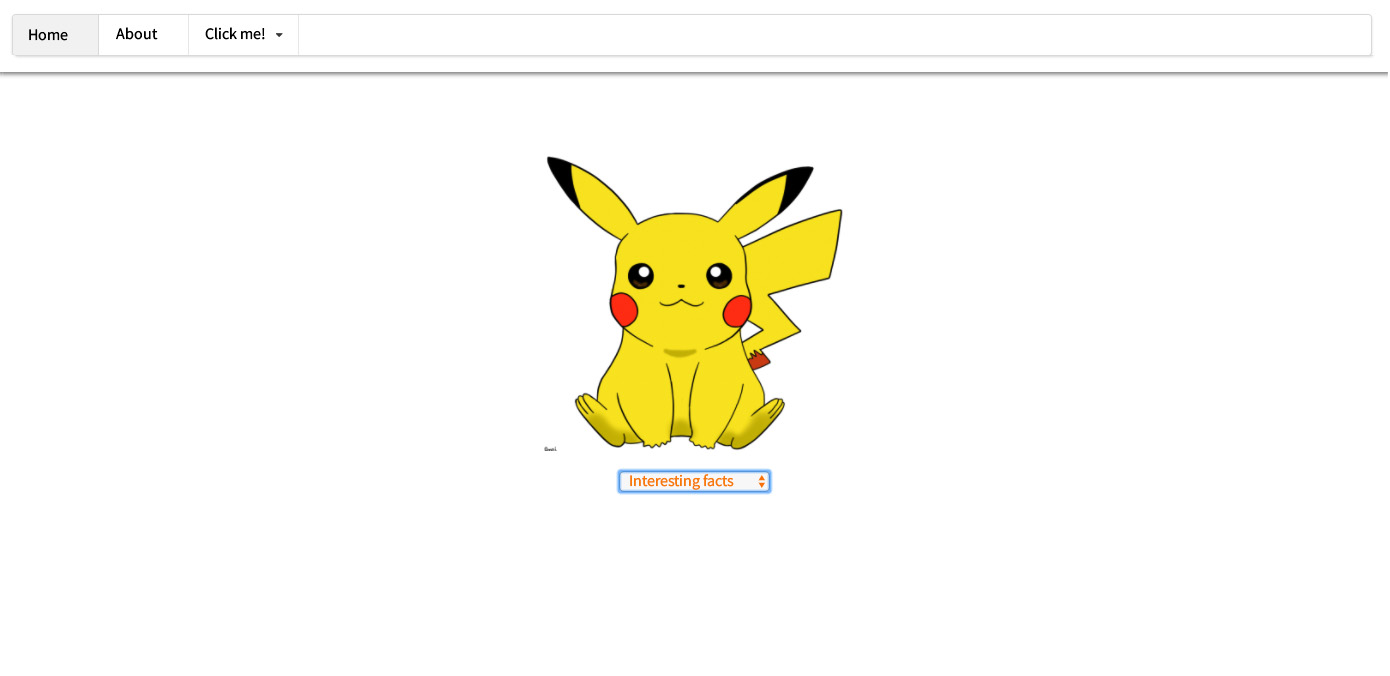
Next, change src/app/about/about.component.ts:
import {Component, OnInit, ElementRef} from '@angular/core';

@Component({
  selector: 'my-about',
  templateUrl: './about.component.html',
  styleUrls: ['./about.component.scss']
})
export class AboutComponent implements OnInit {

  $select: any;
  constructor(private _el: ElementRef) {
  }

  ngOnInit() {
    this.$select = $(this._el.nativeElement.querySelector('select'));
    this.$select.dropdown();
  }

}
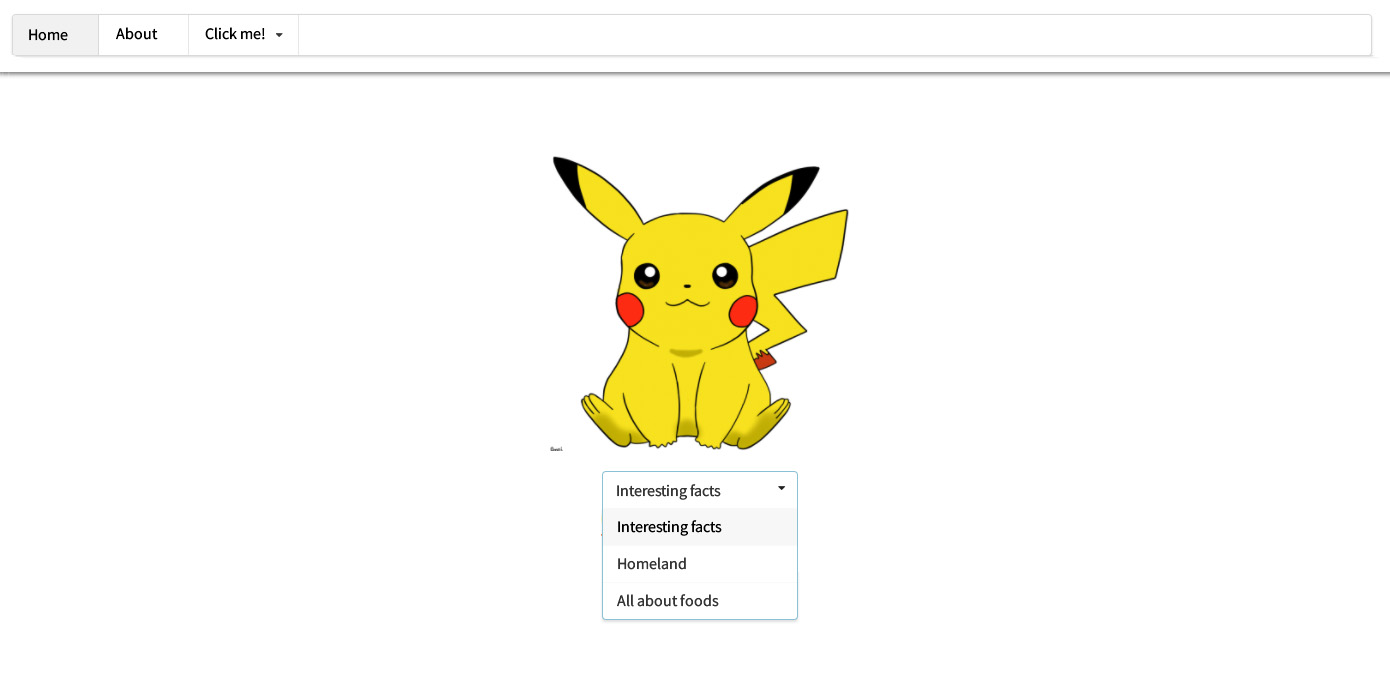
We got a reference to select within this component, converted it to a jQuery element and bound dropbox to it.
In the same way, you can include various libraries, scripts, and styles in your projects.


